A new Flexera Community experience is coming on November 25th. Click here for more information.

- Flexera Community
- :
- Software Vulnerability Management
- :
- Software Vulnerability Manager Knowledge Base
- :
- Swap SVM On-Prem SSL certificates [Ubuntu VA]
- Subscribe to RSS Feed
- Mark as New
- Mark as Read
- Subscribe
- Printer Friendly Page
- Report Inappropriate Content
- Mark as New
- Subscribe
- Mute
- Subscribe to RSS Feed
- Permalink
- Report Inappropriate Content
- Article History
- Subscribe to RSS Feed
- Mark as New
- Mark as Read
- Subscribe
- Printer Friendly Page
- Report Inappropriate Content
Summary
The SVM VA server will generate a self-signed SSL certificate when you choose to use SSL.
These instructions will explain how to swap it for your certificate and key pair.
Synopsis

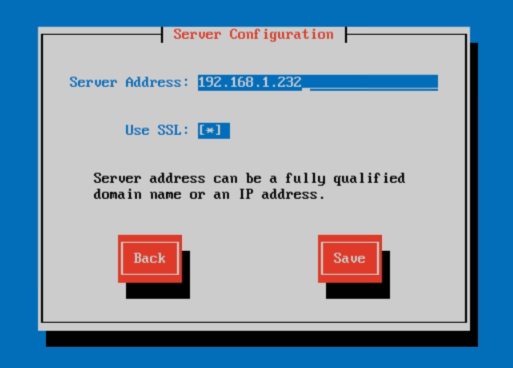
Once you've run through the SVM Virtual Appliance (VA) setup wizard and have selected to use SSL you'll find that the server is set up with a self-signed SSL certificate. In some environments that isn't an ideal solution as the act of propagating the public key from this certificate to all endpoints can be daunting. Below you'll find step by step instructions on how to replace the generated certificate with your own.
1. Obtain and transfer your public and private keys to your SVM VA. Once you have access to the file(s) this can be easily transferred to your server with a tool like WinSCP.
2. If your certificate is packaged together in a PFX file you can do the following to prepare your public and private key files.
Extract the private key:
openssl pkcs12 -in cert_name.pfx -nocerts -out csi.key
Remove the password from your key, so httpd will start without prompting for it:
mv csi.key csi.key.secure

openssl rsa -in csi.key.secure -out csi.key
Generate the public certificate:
openssl pkcs12 -in cert_name.pfx -clcerts -nokeys -out csi.crt
If you have a PEM file that has the two keys instead of a pfx you'll want to change the pkcs12 to x509 to match the format of the certificate. If you have another certificate format you'll need to adjust accordingly. Please refer to the openssl manual page for further details
<VirtualHost *:8443>
        DocumentRoot /usr/share/csi/public_html/
        DirectoryIndex index.php index.html
        ServerName CSI-SSL
        <Directory /usr/share/csi/public_html/>
                Require all granted
        </Directory>
        SSLEngine on
        SSLCertificateFile    /etc/csi/ssl/csi.crt
        SSLCertificateKeyFile /etc/csi/ssl/csi.key
</VirtualHost>
The important lines from the virtual host are the SSLCertificateFile and SSLCertificateKeyFile directives. These tell Apache which public and private key to use for the SSL connection and this lets us know what files we need to replace.
4. Remove the existing certificate key pair and replace it with yours.
Begin with deleting the old public key:
rm /etc/csi/ssl/csi.crt
Delete the old private key:
rm /etc/csi/ssl/csi.key
Copy new public key
cp csi.crt /etc/csi/ssl/
Copy new private key
cp csi.key /etc/csi/ssl
service apache2 restartAfter restarting Apache you are all set.
Your connections to the SVM Server will occur using the newly implemented certificate.
on
Nov 15, 2018
04:46 PM
- edited on
Sep 25, 2019
06:57 PM
by
![]() RDanailov
RDanailov
