This website uses cookies. By clicking Accept, you consent to the use of cookies. Click Here to learn more about how we use cookies.
A new Flexera Community experience is coming on November 25th, click here for more information.

Turn on suggestions
Auto-suggest helps you quickly narrow down your search results by suggesting possible matches as you type.
- Flexera Community
- :
- AdminStudio
- :
- AdminStudio Knowledge Base
- :
- Adminstudio Repackager Exclusion Lists
Subscribe
- Mark as New
- Mark as Read
- Subscribe
- Printer Friendly Page
- Report Inappropriate Content
Subscribe
- Mark as New
- Subscribe
- Mute
- Permalink
- Report Inappropriate Content
Subscribe
- Article History
- Mark as New
- Mark as Read
- Subscribe
- Printer Friendly Page
- Report Inappropriate Content
Summary
There are 3 types of exclusions used when repackaging installations - this article will discuss the differences between each one and how to edit them.Synopsis
There are 3 types of AdminStudio Repackager exclusions used when repackaging installations - this article will discuss the differences between each one and how to edit them.Discussion
Project Exclusions
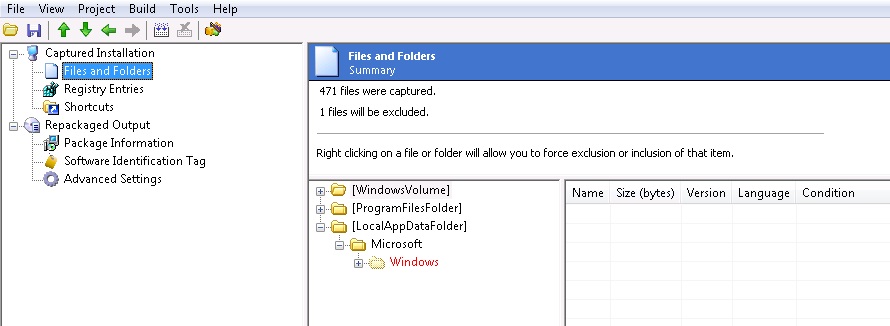
These exclusions will automatically mark captured files as red (or excluded) in the Repackager project. As all the data from the original capture is intact, if you accidentally exclude necessary files, you can always re-include them from the Repackager Interface and quickly rebuild your Windows Installer package.

The default file responsible for Project Exclusions is "isrepackager.ini" and is installed by default into the Adminstudio Shared folder.
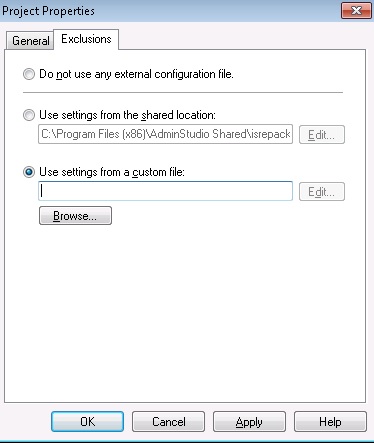
Repackager can be set to point to a customised exclusion list instead of the default "isrepackager.ini" by selecting from the drop down menu in Repackager: Project > Properties > Exclusions Tab

Clicking Edit on the above dialog will open the Exclusions Editor allowing you easily add, remove or modify exclusions from the selected list.
Repackaging Exclusions
Repackaging exclusions refer to exclusions made during repackage time using the Repackaging Wizard. Any files, registry entries, .ini files, or shortcuts excluded at this point are not included in the Repackager project. Therefore, if you exclude a directory you later need, you need to repackage the setup again.
The file responsible for this exclusion list is "default.ini" and is by default installed here:
\AdminStudio\2014\Repackager\default.ini
Individual Project Exclusions
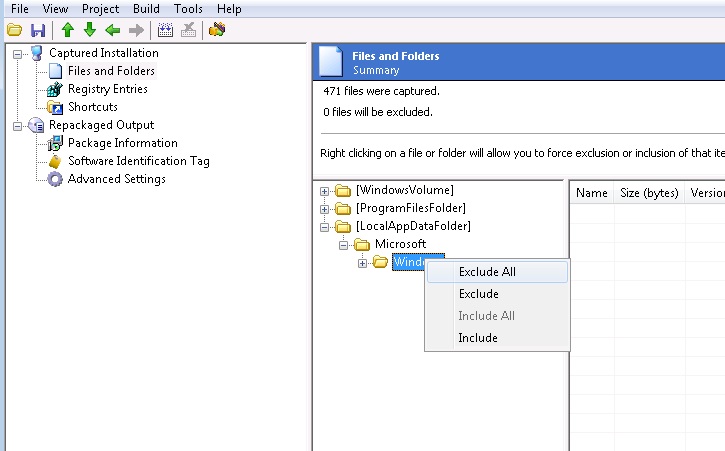
As each project is different, and may require you to make decisions as to whether certain captured data is necessary, you can also selectively exclude or re-include items on a per-package basis.
This can be done by simply right clicking a file or folder and selecting to exclude or include

Oct 29, 2018 04:06 PM
No ratings
