- Revenera Community
- :
- InstallAnywhere
- :
- InstallAnywhere Knowledge Base
- :
- Auto Populate Labels when Saving
- Mark as New
- Mark as Read
- Subscribe
- Printer Friendly Page
- Report Inappropriate Content
Auto Populate Labels when Saving
Auto Populate Labels when Saving
Summary
The importance of enabling o disabling "Auto Populate labels when saving"Synopsis
This article discusses the importance of enabling or disabling the option ?Auto populate labels when saving? in Installer UI >Look & Feel >Installer Steps.
Discussion
For example:


Unchecking this option will result in the label list not being updated upon saving a project, when a panel action is added or removed.
Localizing Labels text for other locales:
Follow the steps below when customizing installer step label for different locales:
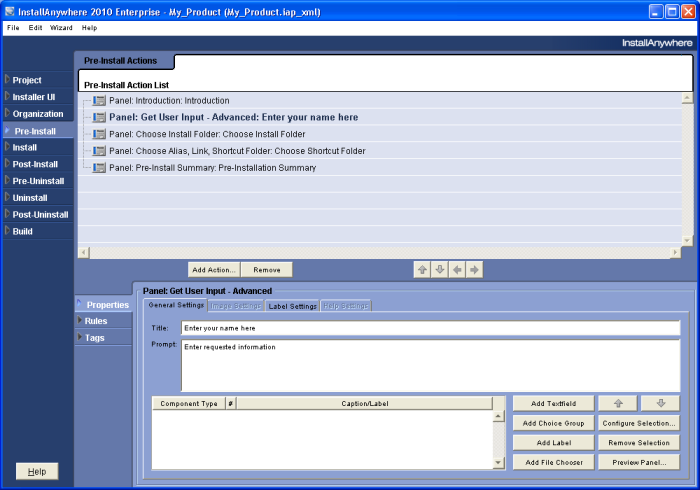
1. Go to Installer UI>Look & Feel> Installer Steps. Under List of Labels for Installer Steps, you will see the labels that you want to customize for the matching panel actions. Deselect ?Auto populate labels when saving? option. This option is checked by default.
2. Build the project for all intended locales.
3. Open the English locale ?custom_en? file with a text editor. The locale files are located in the build directory under the locales directory.
# Installer.f0575e4b90d7.installLabels.06=Enter your name here
Installer.f0575e4b90d7.installLabels.06=Enter your name here
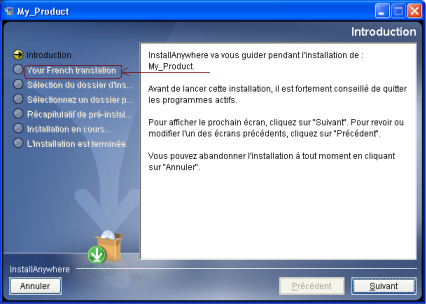
5. Let?s say, as an example, you are customizing a French installer. You would open the custom_fr locale file where you would find the matching entry. Make changes here to reflect the customization for the French locale:
# Installer.f0575e4b90d7.installLabels.06=Enter your name here
Installer.f0575e4b90d7.installLabels.06=Your French translation
6. Save this custom_fr file and rebuild the project.
