How to Change the Default Setup Type Selection on the InstallationType Wizard Page for Suite/Advanced UI Projects
How to Change the Default Setup Type Selection on the InstallationType Wizard Page for Suite/Advanced UI Projects
Summary
This article will explain how to change the default selection on the InstallationType wizard page for Suite/Advanced UI projects.
Synopsis
This article will explain how to change the default selection on the InstallationType wizard page for Suite/Advanced UI projects:
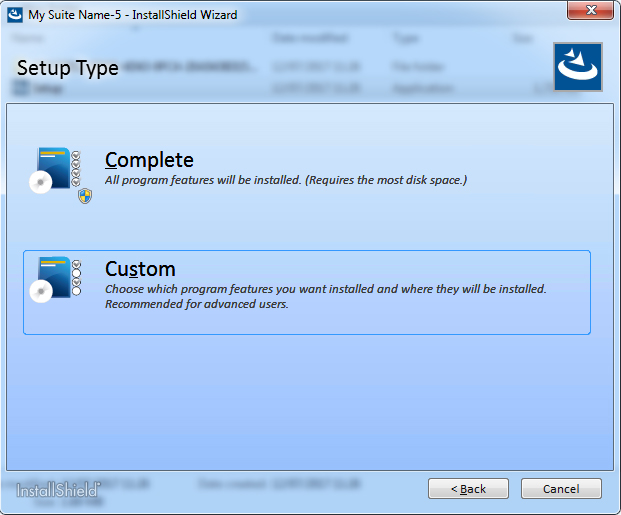
Before
After
Discussion
1. Create/Open an InstallShield Suite/Advanced UI project.
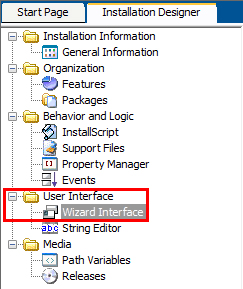
2. Click 'Wizard Interface' (found under 'User Interface').
3. Expand the 'InstallationType' wizard page/dialog so that the button controls are displayed. After doing so, right-click the button you want to be selected by default during runtime and click 'Move Up' (do this until the button is at the top of the list).
4. Build and test your Suite/Advanced UI installer.