This website uses cookies. By clicking Accept, you consent to the use of cookies. Click Here to learn more about how we use cookies.
Turn on suggestions
Auto-suggest helps you quickly narrow down your search results by suggesting possible matches as you type.
- Revenera Community
- :
- InstallShield
- :
- InstallShield Knowledge Base
- :
- Creating Custom Dialog Enabling Mutually Exclusive Features
Subscribe
- Mark as New
- Mark as Read
- Subscribe
- Printer Friendly Page
- Report Inappropriate Content
Creating Custom Dialog Enabling Mutually Exclusive Features
Creating Custom Dialog Enabling Mutually Exclusive Features
Summary
How to create a custom dialog with a mutually exclusive featureSynopsis
This article provides a quick highlight on SelectionTree control, and its limitations in the scope of MSI, and describes an alternative method to enable mutually exclusive features.Discussion
In a Basic MSI project, SelectionTree control enables users to change the selection state of features in the Feature table. This control is created with the WC_TREEVIEW class with the following styles:- WS_BORDER
- TVS_HASLIINES
- TVS_HASBUTTONS
- TVS_LINESATROOT
- TVS_DISABLERAGDROP
- TVS_SHOWSELALWAYS
- WS_CHILD
- WS_TABSTOP
- WS_GROUP
The SelectionTree control will automatically publish the following control events,
- SelectionAction
- SelectionBrowse
- SelectionDescription
- SelectionNoItems
- SelectionPath
- SelectionPathOn
- SelectionSize
Alternative method to enable mutually exclusive feature selection In a situation that only one (1) feature can be selected and installed from a set of given features, the SelectionTree control used in Developer standard dialog is constrained by technology. One alternative is to use a ListBox control to manipulate feature selection.
The steps to create a custom dialog with ListBox control populated with features in the project are as followed.
- Create an interior dialog
- Add ListBox control to dialog
- Populate ListBox control
- Define feature selection
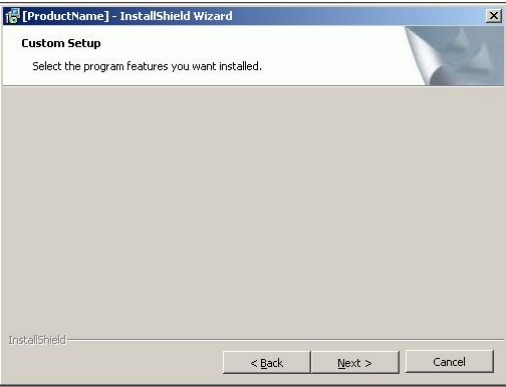
Step 1: Create an interior dialog as shown below
Figure 1: Blank Interior Dialog
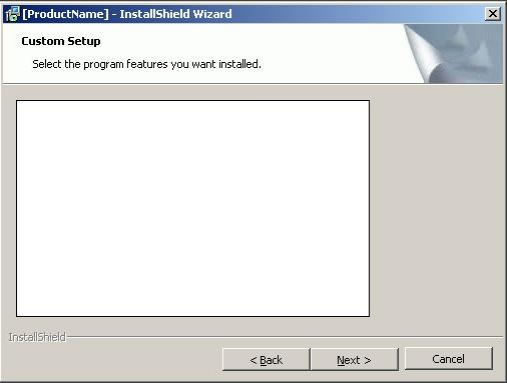
Step 2: Add ListBox control to dialog
Figure 2: ListBox control button

Figure 3: Custom Feature Selection Dialog?
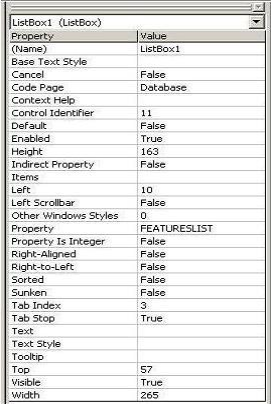
Step 3: Populate ListBox control
Figure 4 shows the complete list of attributes available to ListBox control. We should familiarize ourselves with, at least, the following property names, Property and Items.
Figure 4: ListBox Control Attributes
Select and click on property name Items in Figure 4 to bring up dialog (Figure 5).
Figure 5: Add ListBox Item Dialog
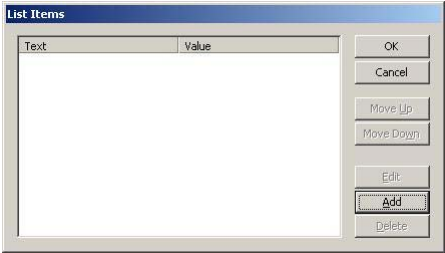
Click on Add button bring up dialog (Figure 6) to add individual feature into ListBox control. String entered for Value is used internally by MSI, and will not be visible to users at runtime. String entered for Text will be displayed to users. Value and Text do not have to have the same string. If Text is left blank, string entered for Value will be used for Text as well.
Figure 6: Add Items
Step 4: Define feature selection Given a set of features as shown in Figure 7, set Install Level of all features to a number higher than the value of INSTALLLEVEL property. The default INSTALLLEVEL is 100. By doing that, it is to initialize all features to be not selected for installation by default.
Figure 7: Existing Features

Add AddLocal events to Next button as in Figure 8. It will select a feature for installation based on user?s selection. You can add other necessary events per your installation requirements. AddLocal event takes a string argument, and does not resolve the string. When a list item is selected, the property of ListBox control will contain the string of Value column in Figure 5.
Figure 8: AddLocal Events on Next button
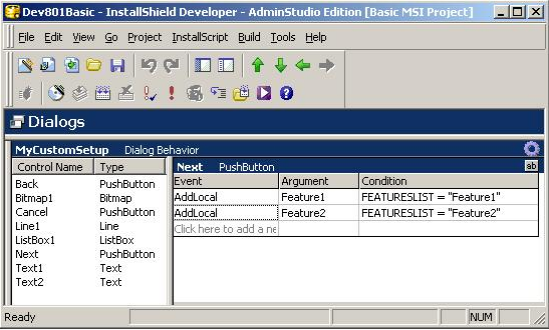
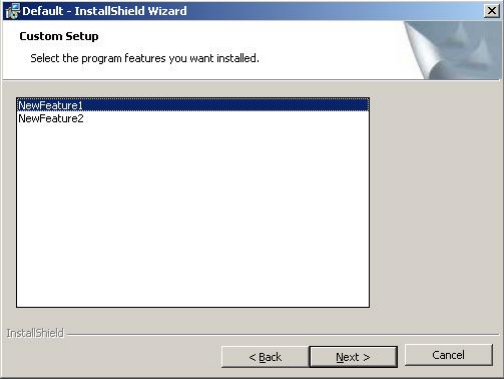
Figure 9 shows how the dialog will appear at runtime. To set a default selection, you can assign a value to the property of ListBox control in Property Manager in IDE.
Figure 9: Feature Selection Dialog at Runtime
No ratings
Comments
Jun 28, 2019
04:09 AM
- Mark as Read
- Mark as New
- Permalink
- Report Inappropriate Content
Jun 28, 2019
04:09 AM
If you're looking for tax saving investments through mutual funds, invest in Axis Long term Equity Fund. This is an ELSS fund which can help you save taxes under section 80C.